Mastering Pavlova: Essential Tips for a Delicate Dessert
There are few desserts that command attention quite like a perfectly crafted pavlova. With its ethereal appearance, crisp outer shell, and delightfully soft, marshmallow-like center, it's a true showstopper. Originating from Australia and New Zealand, this Aussie Classic Pavlova: Crisp Shell & Marshmallow Center Guide has transcended its regional roots to become a beloved treat worldwide, particularly cherished for celebrations, holidays, and any occasion calling for an elegant, yet surprisingly simple, homemade dessert. Often considered tricky to master, the truth is that with a few essential tips and a sprinkle of patience, you can consistently achieve a bakery-worthy pavlova right in your own kitchen.
Whether you're aiming for a stunning centerpiece for your holiday table or simply craving a light, airy, and naturally gluten-free indulgence, this comprehensive guide will walk you through the nuances of creating a truly exceptional pavlova. We'll delve into the foundational techniques, demystifying each step to ensure your dessert boasts that irresistible 'wow' factor. Prepare to impress your guests and delight your palate as we unlock the secrets to a delicate, show-stopping Unlock the Best Pavlova: Easy Recipe for Holiday Wow Factor!
The Foundation: Perfecting Your Meringue Base
The heart of any magnificent pavlova lies in its meringue base. Achieving the right consistency and stability here is paramount for that coveted crisp exterior and soft, chewy interior. It all starts with understanding your ingredients and a few fundamental techniques.
The Egg Whites: Temperature and Purity
The journey to perfect meringue begins with your egg whites. While separating eggs is often easier when they're cold (as the yolks are firmer and less likely to break), the whites themselves perform best when brought to room temperature. Why? Room temperature egg whites have lower surface tension, allowing them to whip up to a greater volume and more stable foam. To achieve this, simply separate your cold eggs and let the whites sit in a clean bowl for 30-60 minutes before whisking.
Crucially, ensure your whisk and bowl are impeccably clean and completely free of any grease or fat. Even the tiniest speck of egg yolk can prevent your whites from whipping properly, as fat interferes with the protein structure needed for aeration. Whisk the egg whites on medium speed until they reach firm peaks. A reliable test for this stage is to carefully (very carefully!) invert the bowl; if the whites hold firm without any movement or slipping, they're ready. If they slide, keep whisking!
The Sugar: Incorporation is Key
Once your egg whites are at firm peak, it's time to introduce the sugar. This isn't a race; patience here is vital. The sugar needs to be added gradually, a tablespoon at a time, allowing each addition to fully dissolve before adding the next. This ensures the meringue remains stable and prevents sugar syrup from seeping out of your finished pavlova. Keep whisking on medium-high speed. A good indicator of proper sugar incorporation is the "rub test": take a small dab of the meringue mixture between your thumb and forefinger and rub gently. If it feels smooth and not grainy, the sugar is dissolved.
After all the sugar is incorporated, continue whisking for another three to five minutes. This final whisking period is crucial for developing a glossy, stiff, and incredibly stable meringue that will hold its shape beautifully and resist collapsing during baking. The mixture should be thick enough to hold sharp peaks and look almost like a cloud.
The Magic Trio: Vinegar, Vanilla, and Cornflour
These three ingredients are the secret weapons behind the classic pavlova texture. The vinegar (or lemon juice) acts as an acid, further stabilizing the egg whites and helping to create that wonderfully crisp outer shell. Cornflour (corn starch) is responsible for the signature soft, marshmallowy interior. Vanilla extract, of course, adds a beautiful depth of flavour. Once your meringue is stiff and glossy, gently fold in these ingredients. Whisk for just about 30 seconds more, ensuring they are evenly distributed but taking care not to overmix and deflate the meringue.
Shaping and Baking for Success
With your perfect meringue prepared, the next steps involve careful shaping and precise baking to achieve that delicate balance of textures.
Preparing Your Canvas: The Baking Tray
Before spooning out your meringue, prepare your baking tray. Cut a piece of baking parchment (or baking paper) into a round or square shape to fit your tray. To prevent the parchment from sliding around, dab a tiny amount of meringue onto the four corners of your baking sheet before laying the paper down. For extra guidance in shaping, you can draw a large circle (around 8-10 inches in diameter) on the underside of your parchment paper using a dinner plate as a stencil.
Sculpting Your Masterpiece: Shaping Techniques
Transfer all your meringue mixture onto the center of the prepared baking parchment. Using a spatula, gently shape the meringue into a round disc, using the drawn circle as your guide if you opted for one. Start by building up the sides, making upward movements with your spatula. This creates a natural nest-like depression in the center, which will deepen slightly as the pavlova cools, making a perfect hollow for your delicious toppings. The textured ridges from your spatula strokes will also add to the visual appeal of the finished dessert.
The Oven's Embrace: Temperature Control and Patience
Preheat your oven to 300°F (150°C). This initial higher temperature helps to set the meringue quickly. Once the oven is preheated and you place your pavlova inside, immediately reduce the temperature to 250°F (120°C). This lower temperature is crucial for the slow drying process that creates the crisp exterior and allows the marshmallowy interior to form without browning too quickly.
And now for perhaps the most critical rule of pavlova baking: DO NOT OPEN THE OVEN DOOR AT ANY POINT DURING THE COOKING OR COOLING PROCESS. Opening the door causes sudden temperature fluctuations, which can lead to cracks, shrinking, or even a complete collapse of your delicate dessert. Let the pavlova bake for the recommended time (typically 1.5 to 2 hours), then turn off the oven and leave the pavlova inside to cool completely for several hours, or even overnight. This slow, gradual cooling within the oven is essential for achieving the perfect texture and preventing thermal shock.
Beyond the Base: Toppings and Customization
While the meringue base is a work of art in itself, the toppings are where you truly make your pavlova your own, adding vibrant colours, contrasting textures, and balanced flavours.
Whipped Cream: The Essential Cloud
A generous dollop of freshly whipped cream is the quintessential topping for any pavlova. Ensure your cream is cold and whip it to soft, billowy peaks. You can sweeten it lightly with a touch of icing sugar and a splash of vanilla extract for extra flavour. The rich, cool cream provides a wonderful counterpoint to the crisp, sweet meringue.
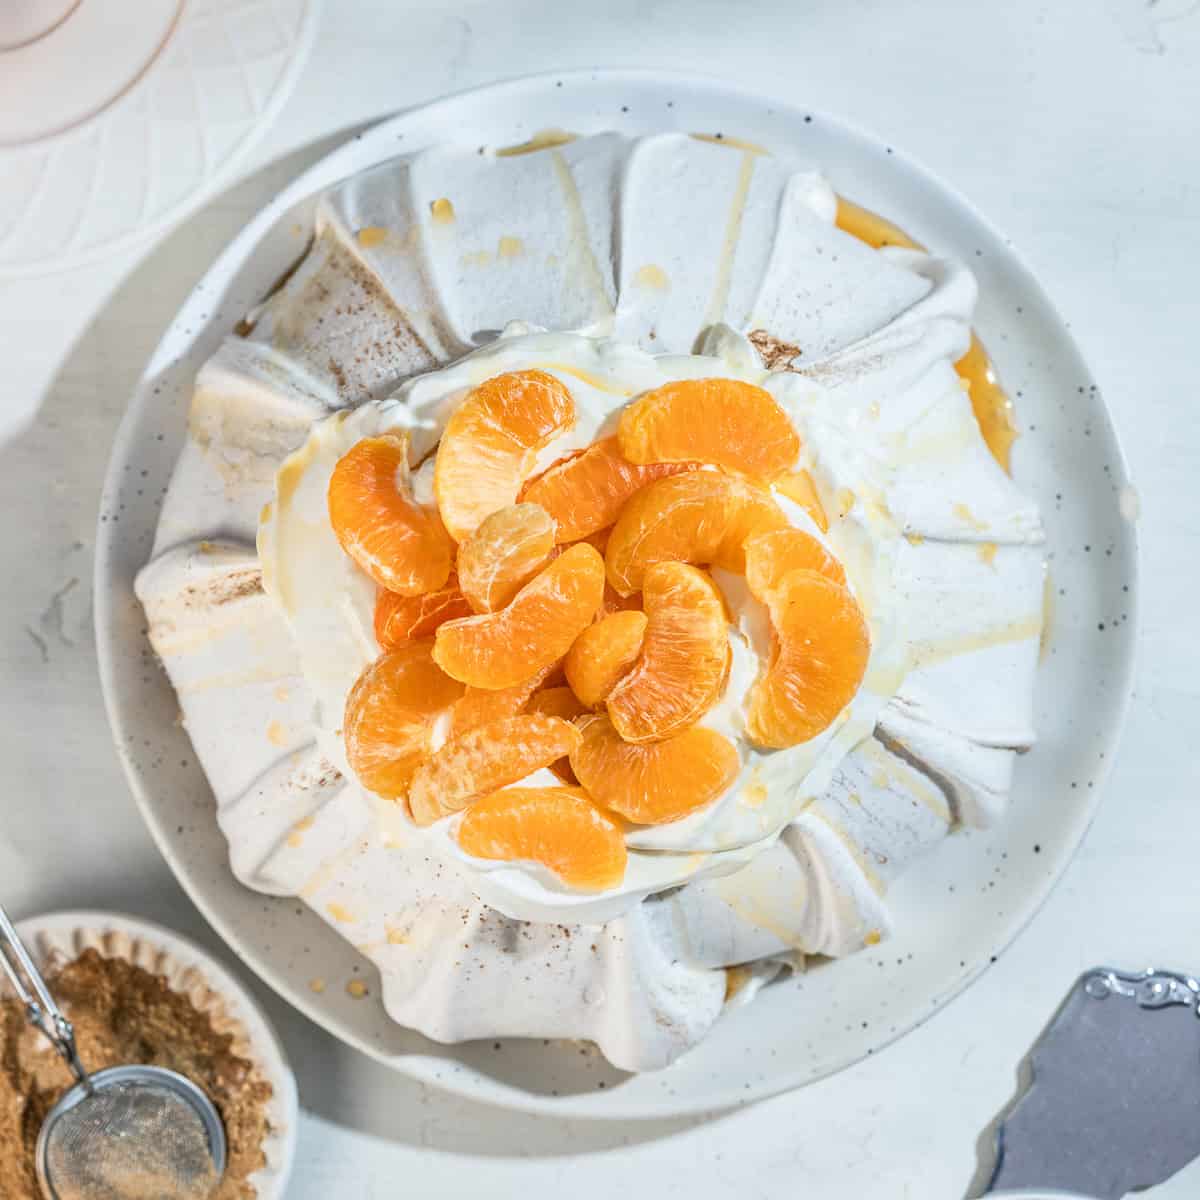
Fresh Fruit: A Burst of Colour and Flavour
Fresh fruit not only adds stunning visual appeal but also provides essential acidity and freshness to balance the sweetness of the meringue. Classic choices include a medley of berries – strawberries, raspberries, blueberries, and blackberries are always a hit. But don't limit yourself! Sliced kiwi, passion fruit pulp, mango, peaches, or even roasted plums can create unique and delicious combinations. Arrange your chosen fruits artfully over the whipped cream just before serving for maximum impact and freshness.
Creative Twists: Elevating Your Pavlova
Beyond the classic, feel free to get creative with your toppings. A drizzle of fruit coulis, a sprinkle of toasted nuts (like pistachios or almonds), chocolate shavings, or a grating of citrus zest can elevate your pavlova to new heights. For a truly indulgent treat, consider adding a layer of lemon curd under the cream, or incorporating a hint of liqueur into your whipped cream. The beauty of pavlova is its versatility, allowing you to tailor it to any season or celebration.
Mastering the pavlova might seem daunting at first, but by focusing on clean equipment, proper egg white technique, careful sugar incorporation, and patient baking, you'll consistently achieve that impressive crisp shell and soft, chewy center. This delicate dessert is a testament to simple ingredients transformed into something truly spectacular. With these essential tips in hand, you're ready to create a show-stopping pavlova that will undoubtedly 'wow' your guests and become a cherished addition to your culinary repertoire. Enjoy the process, and most importantly, savour every delightful bite!
